

Essential Guide to Maintaining Your RV Ducted Air Conditioner Filter
Release time:
05 Jun,2025
In this guide, we'll explore why maintaining your RV ducted air conditioner filter is essential, how to care for it effectively, and how it impacts both your comfort and your vehicle's performance.

When you're on the road in your RV, a comfortable indoor environment is crucial, and your RV ducted air conditioner filter plays a pivotal role in achieving that. This often-overlooked component is the first line of defense against dust, debris, and allergens, ensuring clean air circulates throughout your living space while protecting your AC system from damage. In this guide, we'll explore why maintaining your RV ducted air conditioner filter is essential, how to care for it effectively, and how it impacts both your comfort and your vehicle's performance.
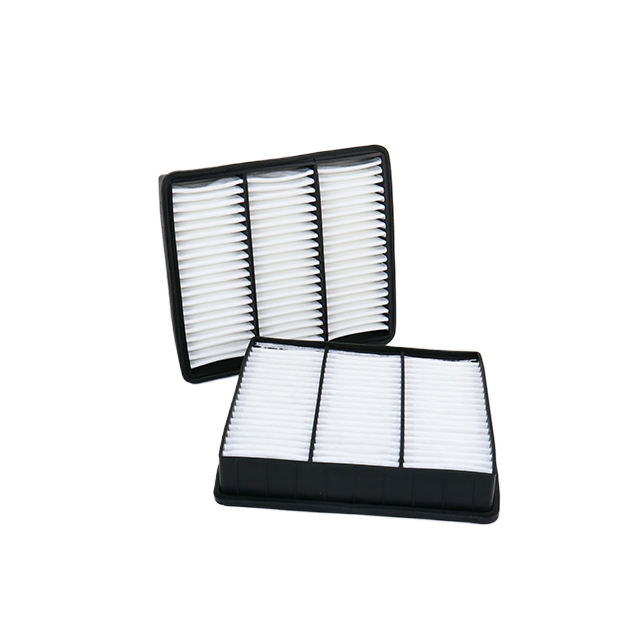
The Critical Role of Your RV Ducted Air Conditioner Filter
Your RV’s ducted air conditioning system relies on a properly functioning filter to operate at its best. The filter’s primary job is to trap airborne particles such as dirt, pet hair, pollen, and even tiny insects that could otherwise enter the AC unit. Without a clean filter, these contaminants can accumulate in the system, reducing airflow and forcing the motor to work harder. This not only decreases energy efficiency but also leads to higher utility bills and a shorter lifespan for your air conditioner.
Moreover, a dirty filter directly affects the air quality inside your RV. For those with allergies or respiratory issues, a clogged filter can release trapped pollutants back into the air, causing discomfort or health problems. By prioritizing regular maintenance of your RV ducted air conditioner filter, you create a healthier living environment for you and your family, especially during long trips or extended stays at campsites.
How to Clean and Replace Your RV Ducted Air Conditioner Filter
Maintaining your filter is a simple process that requires minimal tools but yields significant benefits. Most RV ducted air conditioner filters are reusable or replaceable, depending on the model. Here’s a step-by-step guide to keep yours in top condition:
- Locate the Filter: Start by turning off the AC system for safety. The filter is usually located near the air intake vent, which may be in the ceiling or wall of your RV. Consult your owner’s manual if you’re unsure of its exact position.
- Remove and Inspect: Gently take out the filter and examine it for dirt buildup. If it’s a reusable filter, you’ll notice a layer of dust or debris on the mesh or fabric. For disposable filters, a visible accumulation of grime means it’s time for a replacement.
- Clean Reusable Filters: Rinse the filter under lukewarm water to remove loose particles. For stubborn dirt, use a mild detergent and let it soak for a few minutes before rinsing again. Avoid using hot water or harsh chemicals, as they can damage the filter material.
- Replace Disposable Filters: If your filter is not reusable, simply insert a new one of the correct size and type. Make sure it fits snugly to prevent unfiltered air from bypassing the system.
- Reinstall and Test: Place the clean or new filter back into its housing and restart the AC unit. Check for any unusual noises or reduced airflow, which could indicate a problem with the installation.
Experts recommend cleaning reusable filters every 1-2 months, depending on your usage and environment. If you frequently camp in dusty areas or have pets, you may need to clean them more often. Disposable filters should be replaced seasonally or at the first sign of clogging.
Key words:
All
- All
- Product Management
- News
- Introduction
- Enterprise outlets
- FAQ
- Enterprise Video
- Enterprise Atlas
More information


Mobile/WeChat:
E-mail:
